One of the areas we renovated during our remodel was my closet. Things have been so busy around here that I am just now getting around to sharing the space. When we bought our house, my closet had dark stained cabinetry and ivory carpet. Here are a few before pictures.

Don’t judge, this next one was a pre-purge pic! See how the configuration was just not working for me? The built ins were nice but there was so much wasted space above the cabinets and in the corners of the closet.

Here is another angle of the closet before. One thing to notice is the cabinet depth. These cabinets were not deep enough for clothing to sit inside the cabinet once hung up. Whether or not you are doing open or closed storage, I suggest choosing a deeper cabinet depth so everything hangs nicely vs. hanging out and over once on the rod. It will make a huge difference in how organized your closet looks.

Before starting the project, I had a list of things I wanted.
- As much closed cabinetry as possible
- More upper cabinetry
- A place for out of season items
I had never designed a closet prior to our renovation and really wasn’t sure where to start. (There are obviously many resources for professional closet design and planning, but I will share how I went about planning this space.)
- First, I made notes on everything that was currently working and NOT working in the space.
- After that, I took photos and measurements of my closet to refer to when planning.
- The next thing up was purging. I spent several days purging like crazy because my closet was long overdue for a good cleanout. Once I removed items I no longer used or wanted, it was way easier to get a feel for how much space I really needed.
- I counted all my shoes and measured how much space I was currently using for each type of item. How many drawers did I need for socks, undergarments, etc? I also made sure that every single thing in my closet had a designated spot in the new design. (This also included a place for accessories like jewelry, scarves and sunglasses.)
- After I had done the above, I tried to find an online closet planning app or website. I played around with a few of them and to be honest, they were all either too complicated or too basic. So I drew up my own design for our cabinet maker and asked him to give me his honest feedback on what would and would not work in the space. He was super helpful and thankfully he was also able to work off my very not professional drawings. Here’s the new space.

I am so happy with the way it turned out and honestly feel like I accomplished everything on my checklist. I love the extra space I gained up top with the upper cabinets. I use these for things I do not use often like seasonal clothing and shoes, luggage, ski gear, etc. I also made sure to incorporate a few outlets in case I wanted to charge my iPad/phone in there and I plan on adding some LED lights later on as well.
I am so happy I went for the closed cabinetry. Visually it looks less cluttered and even when my hanging racks aren’t perfectly organized, you don’t see them, so it still looks clean.
To help break up all the closed-door fronts, I did choose to do glass doors in a few areas. I used glass fronts on two cabinets that hold my handbags and on the opposite side, I did another glass front cabinet for shoes. Most people would probably store all their pretty heels in this one, but not me. Fun fact, I HATE high heels but LOVE sneakers. So much so that my sneakers get the pretty cabinet in this closet!

(The cabinetry and walls are both painted in Decorator’s White by Benjamin Moore. The cabinet front style is a shaker style inset rather than overlay. This is a personal preference but be advised, inset cabinets take longer to build so they can be more costly.)
On the opposite side of the closet, I have three tall cabinets for shoes with more upper cabinets for storage. I house heels and sandals in one, flats and boots in another and sneakers in the center. 

Another must for me was a laundry hamper. I had our carpenter include a corner pull out hamper to keep dirty clothes out of sight and off the floor.
We also continued the hardwoods into my closet, so I wanted to soften up the space with a rug. I really love the pattern and colors of this rug. Not too bright but it definitely warms the space up.

One thing I requested when they did our cabinets was adjustable shelving to accomodate different shoe heights. 

To keep my clutches organized and upright, I used these clear bins from Container Store.

They also come in a smaller size that would be good for scarves. I actually calculated how many drawers I would need and designated a drawer for my scarves.

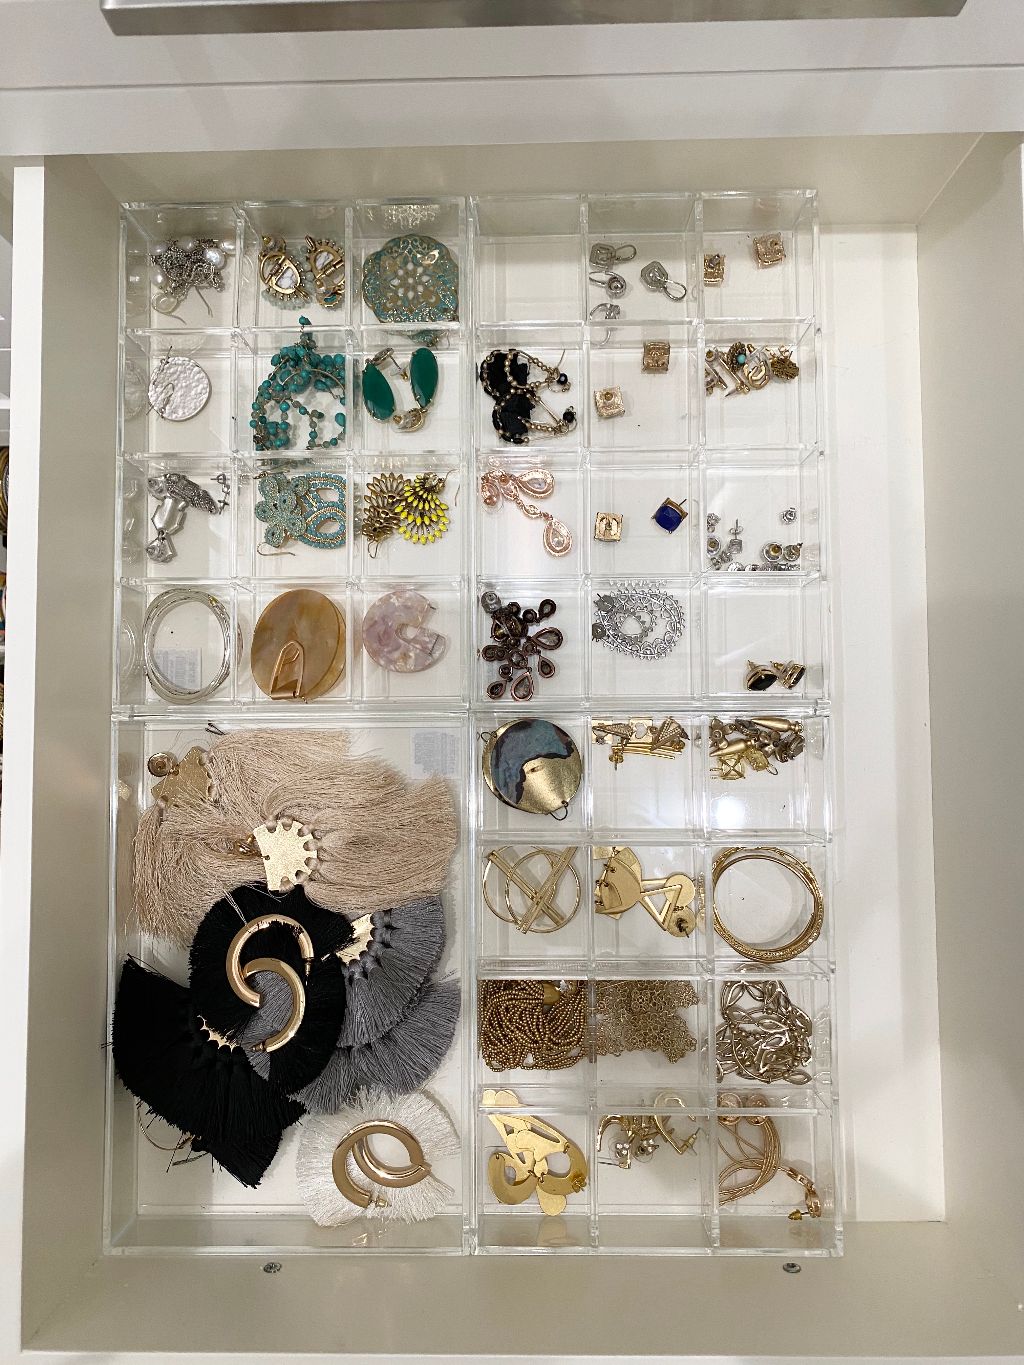
I knew I wanted enough drawers to store jewelry in and I am currently working on getting those drawers organized but here’s one just so you can see what I use to hold my jewelry. These clear trays are from Amazon and come in tons of shapes and configurations.
Keeping it totally real….. it was stressful wondering if the space would flow well and if I had planned enough room for everything but thankfully, it feels so much more organized and I gained a LOT more space than I had before. I really love having a place for everything and could not be happier!


 Master Bathroom
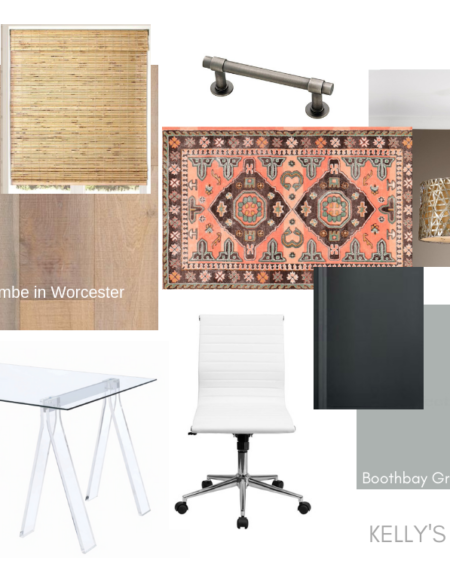 My Office Tour
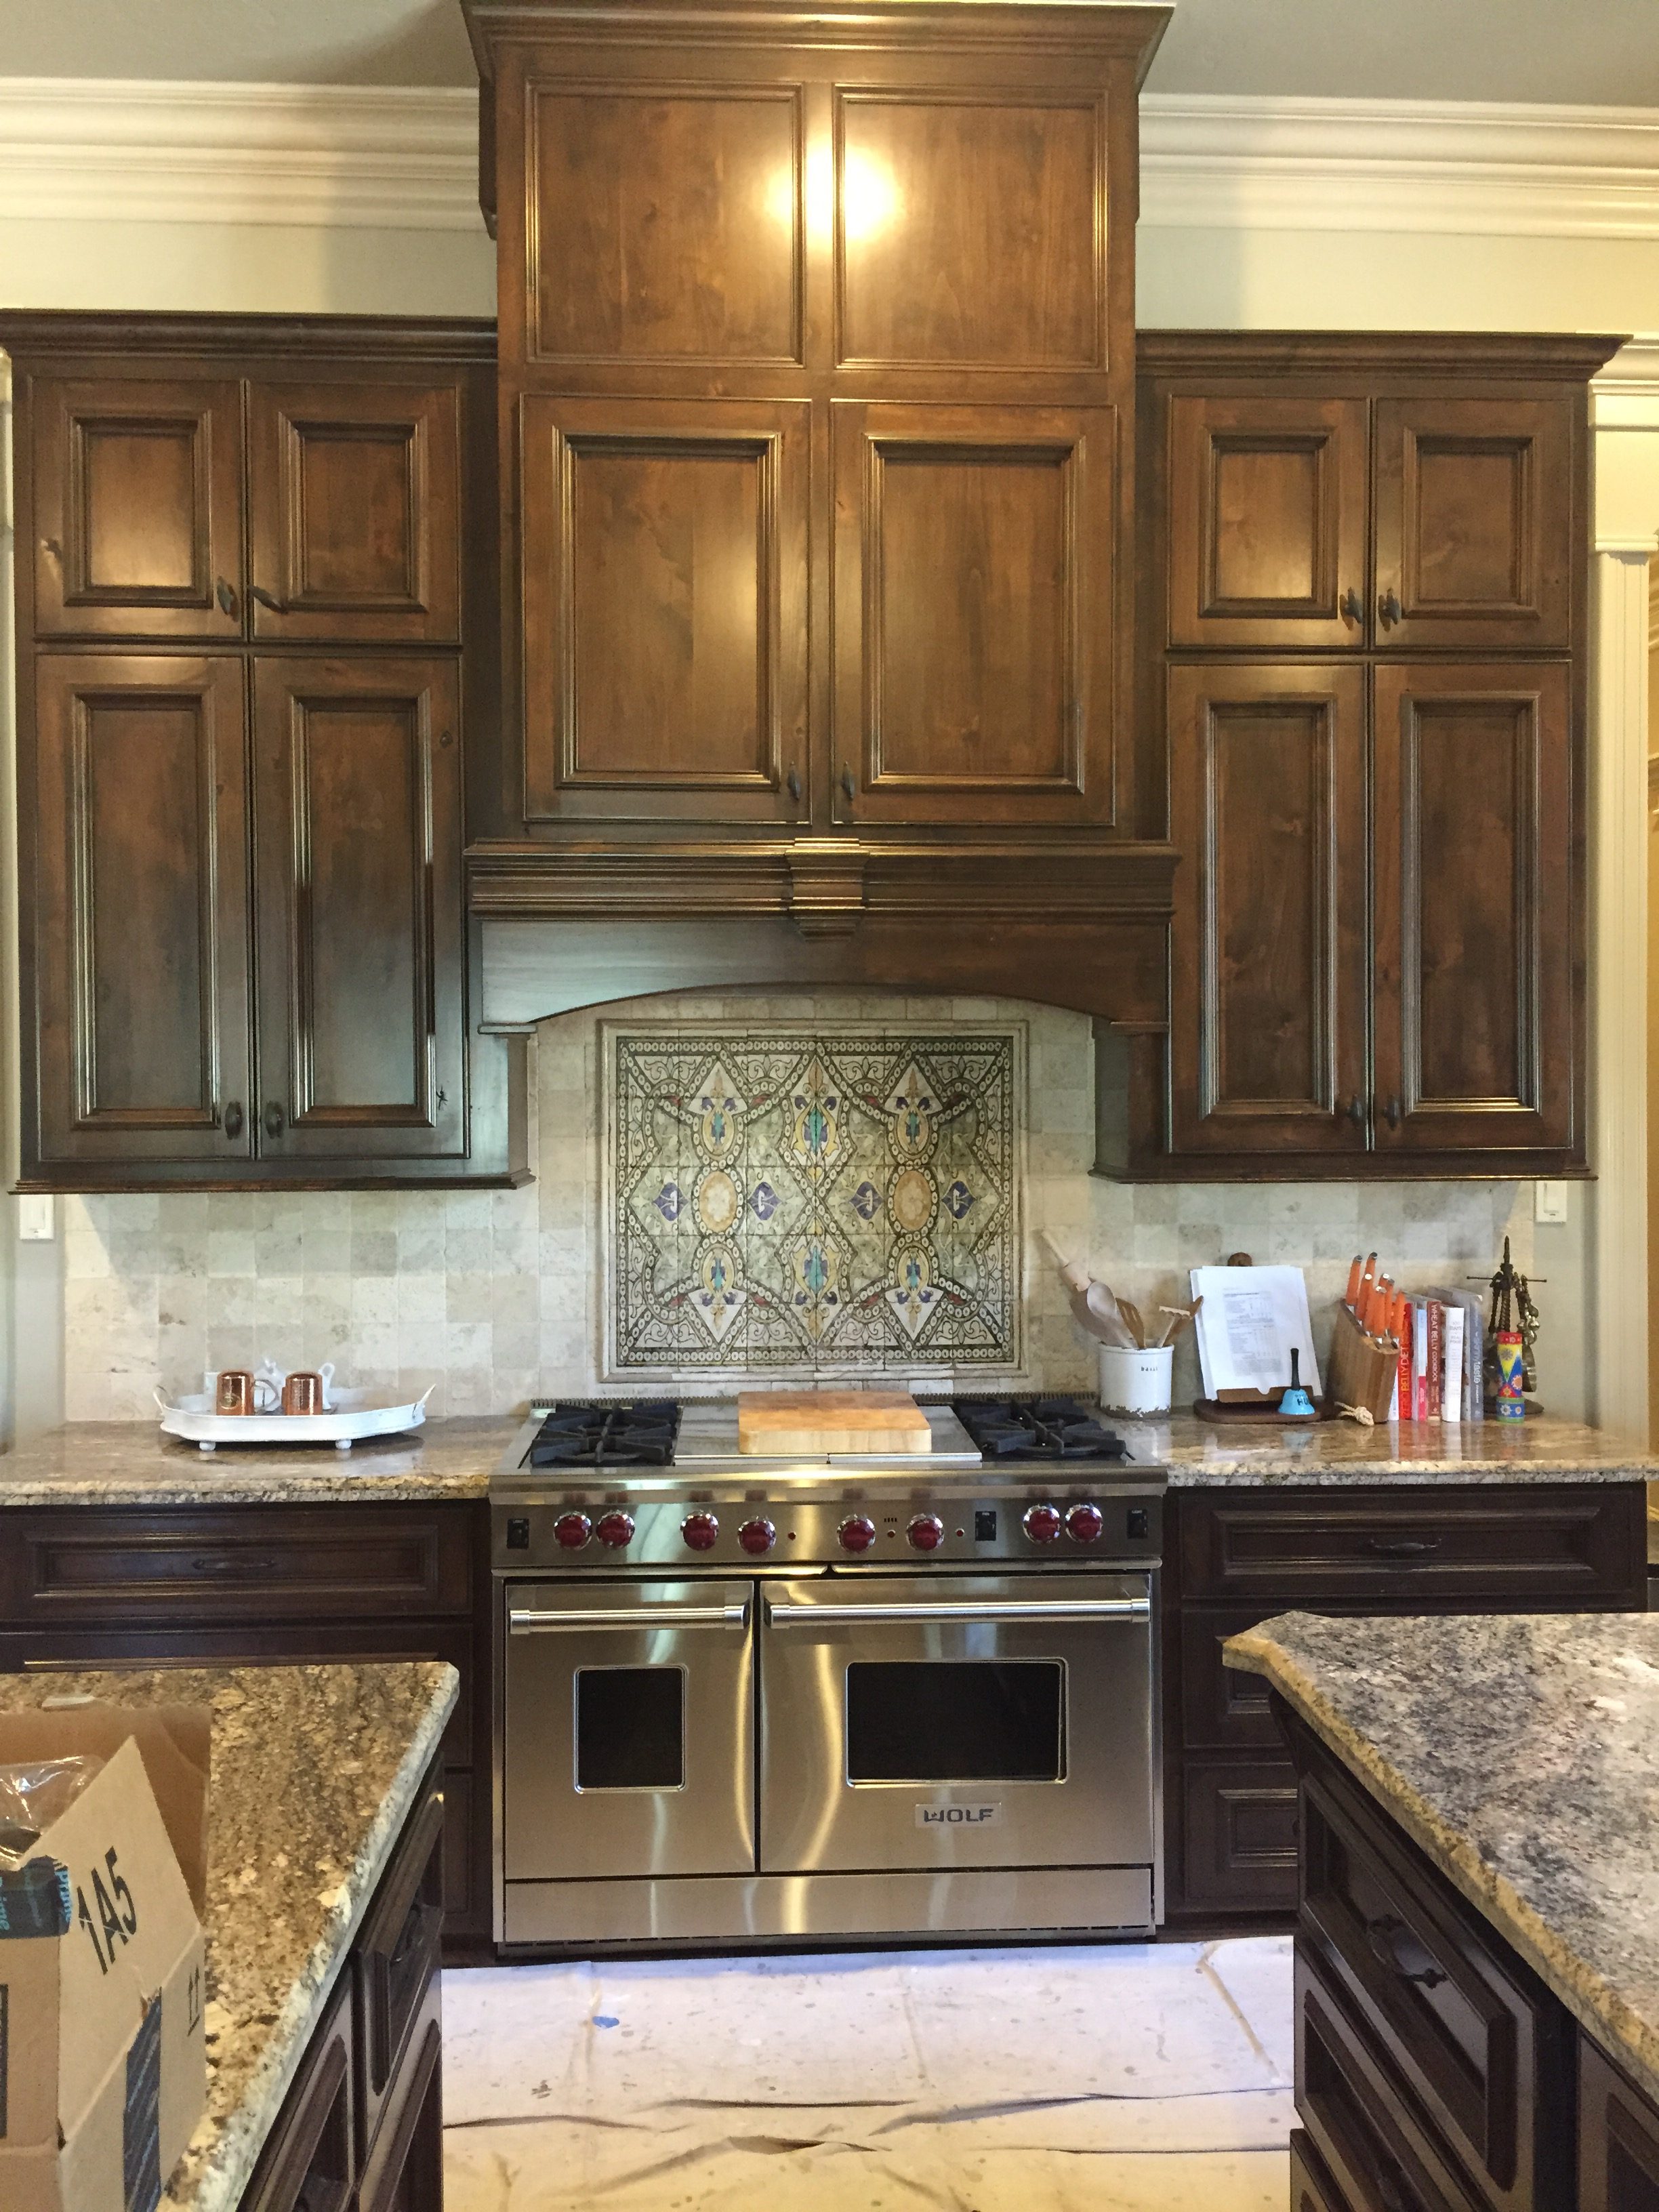 Kitchen Updates from the Reno
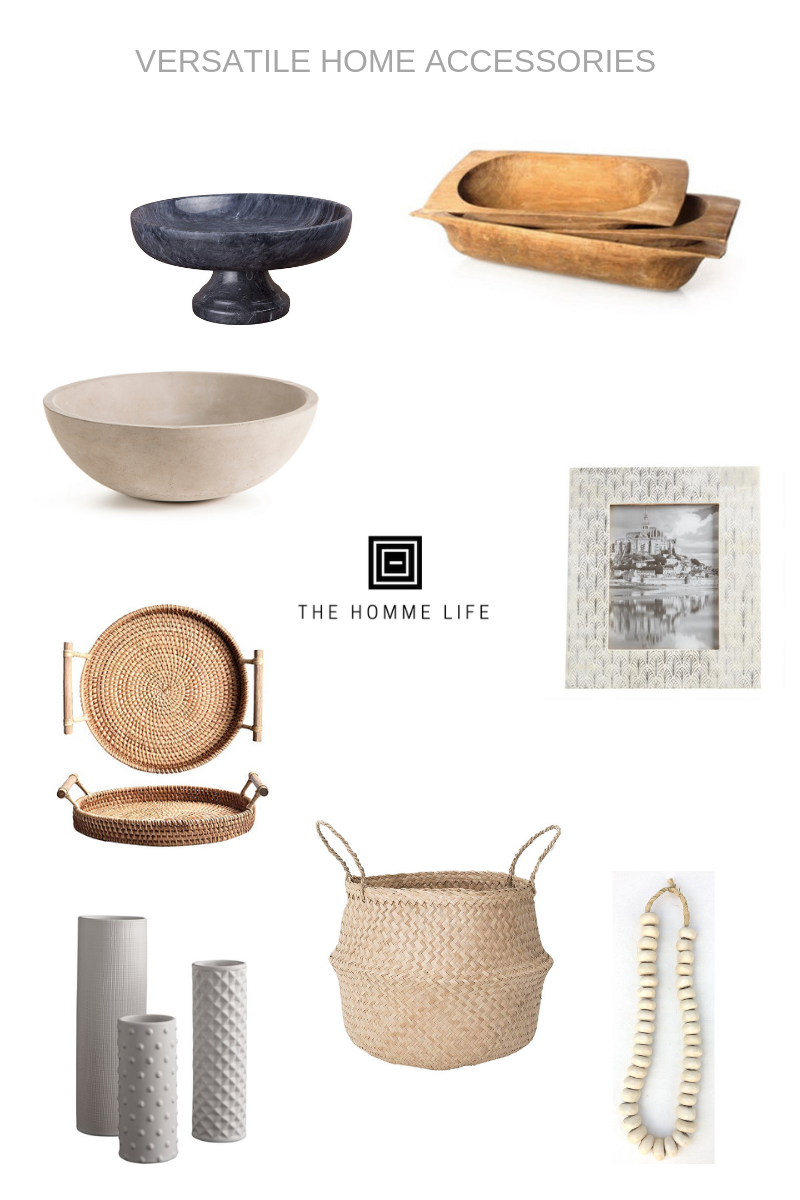 Mood Board Monday: Versatile accessories that won’t break the break

